Over the summer, my son and I tried to find some interesting things to do around the city. After a short research, I found a company offering some exciting scavenger hunts around the country. There was a phone number to call and schedule the hunt, which I excitedly started dialing. The “tour operator” said that the tour is usually for groups of 8-14 members, and it costs the equivalent of $400. Shocked, I thanked the lady and hung up the phone.
When I told my son about the call, he was quite disappointed. After all, this was the only exciting-sounding activity I suggested to him. With a Maker attitude, I asked him if he would like to create our own scavenger hunt. “Let’s go to the Mall, find interesting shops, snap some shots, and create a scavenger hunt for your little cousins”. I was delighted to see his face glowing again, and within five minutes we were ready to go! Mobile phone and a clipboard in hand, we drove to the mall.
Why are these scavenger hunts so expensive? Aside for the fact that they were created by for-profits, I am not sure. I don’t really care, either, because I found an exciting and satisfying way to create my own, using Google Forms!
How to Create a Scavenger Hunt Using Google Forms?
When creating scavenger hunts in Google Forms, you need to be familiar with a couple of features:
- Media Use: You will need to insert a variety of media (images, videos, etc.) which would serve as the hunting grounds (where the clues are hidden)
- Sections: All questions are entered within the Form’s Sections. All questions entered in one section are viewable at once, which questions entered in the following sections are locked until the hunter correctly answers all questions in the previous section.
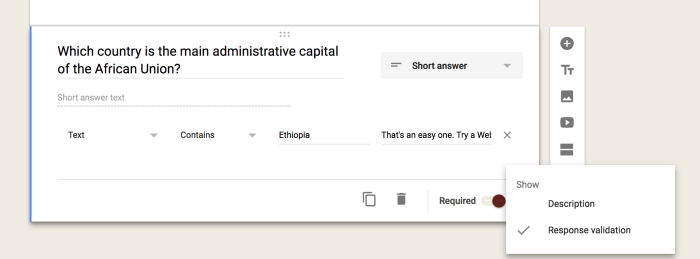
- Response Validation: This option (the 3 vertical dots at the bottom of questions) allows you to set one correct answer, which, until it is entered in the correct spelling/ format, the answer is marked as “incorrect” hence hunters will be unable to move on to the next section until all questions are answered correctly. You can use answers in the format of numbers, dates, letters, etc.
Once you familiarize yourself with the above elements, you are ready to start creating your scavenger hunt.
Example Scavenger Hunt: Around the World
I created an example for a scavenger hunt (you can copy it here) which you can follow step-by-step to understand how to create your own. Before we start, make sure every question is marked as “Required”, so that hunters cannot just move on to the next section without first entering a correct answer.
- Create a title and a description. An image is optional.
- If you would like to separate this part from the first round of questions, create a question (such as, “Are you ready to start?”), which will take the hunter to the next section.
- If you chose to separate the introduction from the first batch of questions, create a new section and name it (I named it “The Hunt: Africa”).
- Go back to your section one question and click “Go to section based on answer”, to ensure the hunters are directed to the next section (the first question section)

6. In the new section’s description, explain what the hunter will be looking for in this section.
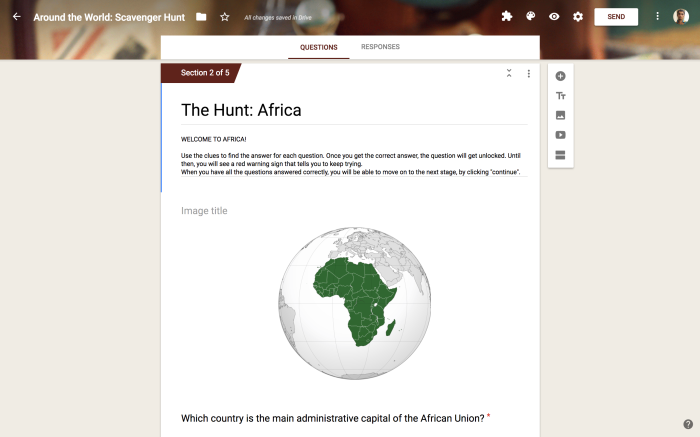
7. Enter a question. The answer to my question is “Ethiopia”, so in the Response Validation (make sure the question type is “Short Answer”), I entered Text, Contains, and the answer. As the validation clue (what will appear until the hunter entered the correct answer), I entered an encouraging clue.
8. I created another question. This time, the hunter will need to watch a video in order to find the correct answer. I made sure to add a description that would guide hunters to use the correct format (not to write “Hospital” with a capital H, because Response Validation is case sensitive, so it will mark it wrong…)

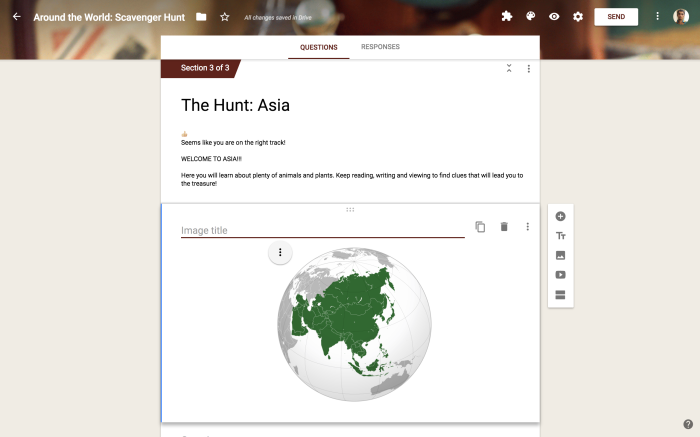
9. Once the hunter has answered both questions correctly, s/he will be able to move on to the next section. The next section is called “The Hunt: Asia”
10. For this question I decided to add a date as the answer, so I made sure to write the correct format in the question’s Description.

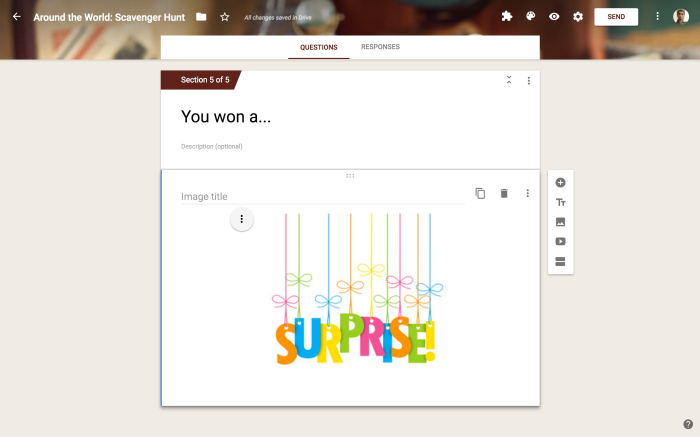
11. Finally, when the scavenger hunt’s questions have all been answered correctly, I created a final section that tells the hunters what they won. Once they are done, they can submit the Hunt and receive their reward.
Book Project Scavenger Hunt
Another examples I created was a digitized version of my colleague Jill Fenn’s book project example. She created a traditional scavenger hunt for the excellent book Freak the Mighty by Rodman Philbrick. For this hunt (click to make a copy), students were to follow the clues from the book to different locations around the school. All I did was to go to these locations, and find permanent markers (the hunt’s longevity is important) to be used as unlocking clues.


If you would like to try the hunt, here are the answers to the questions (1. ICS; 2. twelve; 3. MS FIC PHI; 4. COMPANY; 5. 21; 6. HEALTH OFFICE; 7. eleven; 8. M-105). You can easily adjust the hunt to locations around your school.
And that’s it!
I hope this was an easy enough of a tutorial. If you have any questions, please let me know. And if you created a scavenger hunt of your own, please share the URL in the comments, or on Twitter!
Enjoy!!!
No comments:
Post a Comment